When I have bread in the house I need to use up, grilled cheese is generally my go-to. It’s so easy to make and so satisfying! Sometimes all you want is some toasty bread and ooey, gooey cheese. It’s such a simple meal, but it’s very easy to add a few snazzy ingredients and take it to a whole new level. I came up with this recipe when I really wanted grilled cheese but I wanted to elevate it a little bit.
Fair warning: This grilled cheese sandwich is pretty damn classy. The way all of the flavors meld together in your mouth is like a symphony. What is not classy, however, is how you will look when you’re eating it. Prepare to have garlic butter and balsamic vinegar running down your hands to your elbows and cheese oozing onto your chin. You might even have to break sandwich law and bust out a fork and knife to finish this bad boy off. Hey, I’m not saying I stooped to that level of sandwich eating…but it’s safe to say that when you eat this, you’re in for a messy affair. You can impress a date by making them this glorious sandwich, but it’s more of a third date kind of sandwich. You get my point?

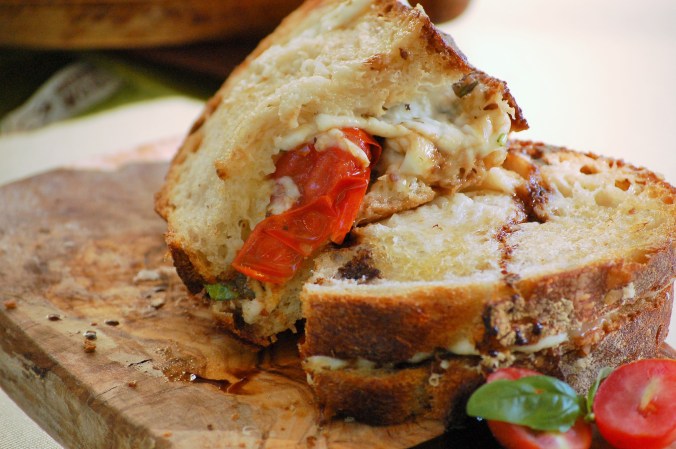
They are certainly messy to eat, but they are actually super easy to throw together and the nice part is that you bake them off in the oven so you don’t even have to worry about flipping them in a pan. Score! I think my favorite part about these sandwiches is the garlic butter. We all know and love buttery grilled cheese. But throw in some garlic & herbs, and oh my is it scrumptious! Then you’ve got these lovely blistered tomatoes, like little jewels of sweetness that burst in your mouth with every bite. The heaping amount of basil on each sandwich perfectly balances out all that rich cheese. The sweet and sticky balsamic reduction provides another touch of sweetness and helps round out all of the flavors. I think the hilarious thing about these sandwiches is that you feel all grown-up eating such a fancy grilled cheese, but in the end you’re wiping your face and hands with a wet napkin like a little kid. However, some of the best moments in life are when you feel like a kid again. So make this grilled cheese and enjoy every messy bite of it.

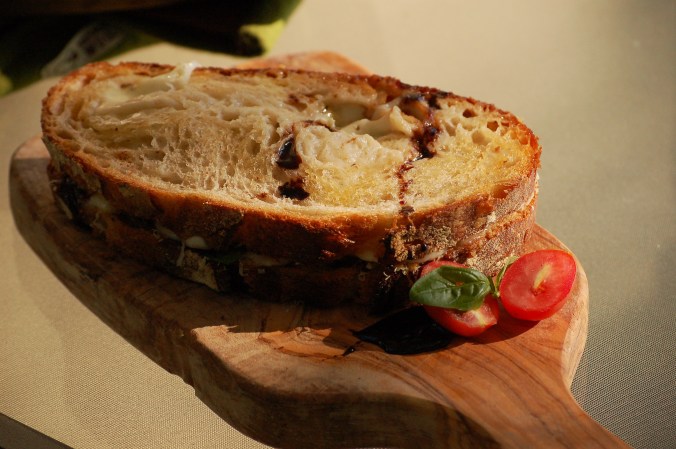
Caprese Grilled Cheese
Serves 2
Ingredients
4 slices of crusty farmer’s bread
4 tablespoons butter, melted
1 clove garlic, grated or finely minced
½ tsp dried basil
½ tsp dried oregano
¼ tsp dried parsley
¼ tsp crushed red pepper
½ cup chopped fresh basil
½ cup cherry tomatoes
2 tablespoons olive oil
8 oz fresh mozzarella cheese, thinly sliced
½ cup freshly grated Parmesan cheese
2 tablespoons good quality balsamic vinegar
Directions
- Preheat the oven to 350 degrees. Lay the slices of bread on a cookie sheet.
- Add the garlic, oregano, dried basil, parsley, and crushed red pepper flakes to the melted butter.
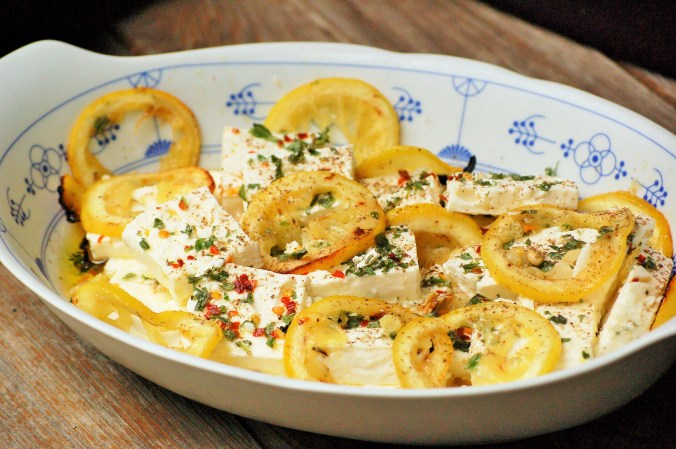
- Brush the garlic butter onto each slice of bread. Divide the mozzarella and parmesan evenly between all 4 slices, making sure the surface of each slice is covered with cheese.
- Bake the cheesy bread slices in the preheated oven for 10-12 minutes, or until the cheese is melty and bubbly.
- Meanwhile, in a small skillet, heat the olive oil over medium-high heat. Add the cherry tomatoes and sautee for 2-3 minutes, or until they begin to blister and burst open. Turn off the heat and set aside.
- In another small skillet, heat the balsamic vinegar over medium heat until reduced by half (this should only take 3-4 minutes). It should thicken significantly. Set aside.
- When the breads come out of the oven, place a few cherry tomatoes on what will be the bottom slice of each sandwich. Finish with balsamic reduction and the chopped fresh basil. Complete the sandwich by placing the remaining cheesy slices on top of the slices with the tomatoes, balsamic, and basil.


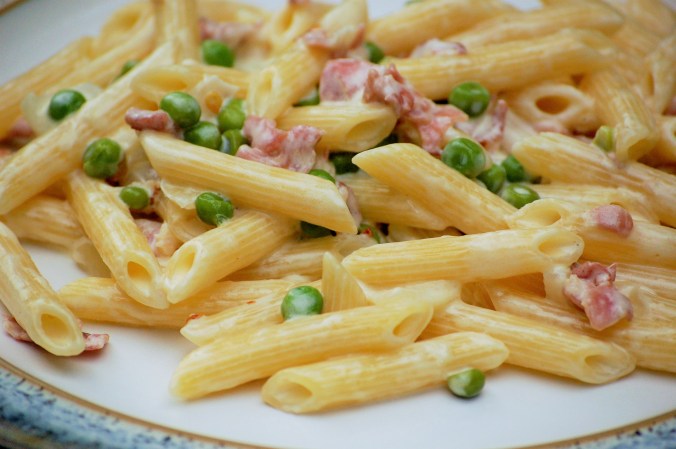


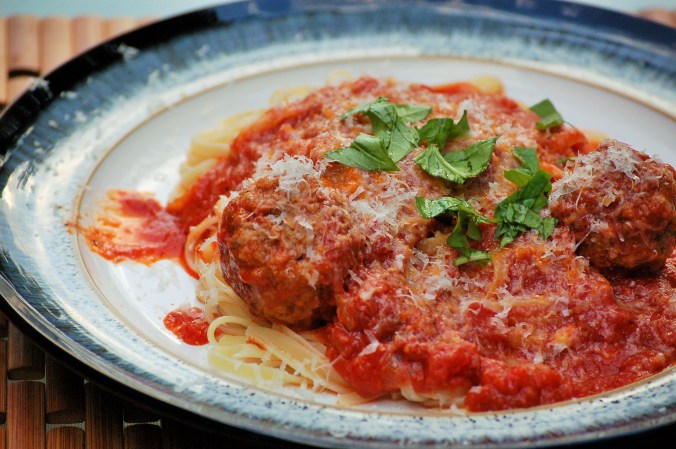 When I went off to college, I quickly experienced withdrawal from my Mom’s sauce. My first time I attempted to make the sauce on my own, I remember calling her every 2 minutes. Wait, how much oregano? How long do I cook the onions and garlic? Both of my parents are excellent cooks but they never measure anything. I would be so frustrated when I called her to ask and her response would be something along the lines of “until it looks right.” I finally knew I had it right when I momentarily left my apartment and walked back in and smelled the sauce. Home. I was so excited when that smell hit me and I realized that I had done it just right. I remember thinking that I would never be able to cook without measuring, but as the years went by I started to feel like I could finally cook like my parents. Confession: The most difficult aspect of creating recipes for this blog is trying to figure out measurements after I eyeball everything!